In this article, we’ll see how to easily set up an automatic, complete backup of your entire computer – similar to Apple’s Time Machine ™. This kind of backup that covers all of your files, automatically and silently updates itself all the time, and does not slow your computer down.
The software we will be using is available here (with a 30-day free trial): Zinstall FullBack. It is not affiliated with Apple, of course, and is designed for PC, not Mac.
The “gold standard” of user-friendly, non-intrusive backup systems is Apple’s Time Machine. It’s a “run-and-done” product: once started, you don’t need to do anything else and are protected immediately and forever. Unfortunately, that is only available for Apple computers.
Luckily, we have found a way to get the Time Machine experience on your Windows PC (Windows 11, Windows 10, Windows 8 or Windows 7). In fact, there are two ways to do it, as seen below.
Traditional PC backup solutions are powerful, but pretty difficult to use for a non-technical person. They require extensive setup and configuration, they ask you to point them where your important stuff is, and worst of all – they slow down your computer quite heavily.
Here is what you want to get in terms of your backup solution:
Let’s examine the two easiest ways to handle your backup:
Windows File History: Built into Windows already, and will help if you lose a file. However, can’t protect you from real disasters when your computer breaks.
Zinstall FullBack: Answers all the requirements above: complete, fast, easy, restorable. Basically just run it, and never look at it again. When disaster strikes, it will restore all of your stuff, including your programs, settings and profiles – not just files!
Windows has a built-in system called File History. It stores multiple old versions of your files, so that if you accidentally erase a file, or delete it, you can restore the original version as if nothing happened.

Here is how to enable it:
That’s it – you now have File History enabled.
To restore a file you’ve deleted, simply locate the folder it was in, right click on it and select “History”. This will show you the past states of this folders – and your file will be there!
As you can see, the File History approach is relatively easy to set up, and it’s free with your Windows. Its disadvantage is that it does not protect you from a computer crash and does not allow you to restore your files to another computer. So while it’s better than nothing, it’s still not enough. Let’s move on to a better option.
Zinstall FullBack is an even better approach. It is even easier to set up, it protects all your files and all your programs, it does not slow down your computer, and when your computer breaks (hopefully far in the future!), it will gracefully restore everything you have to a new computer that you get – and that’s the single most important requirement in a backup.
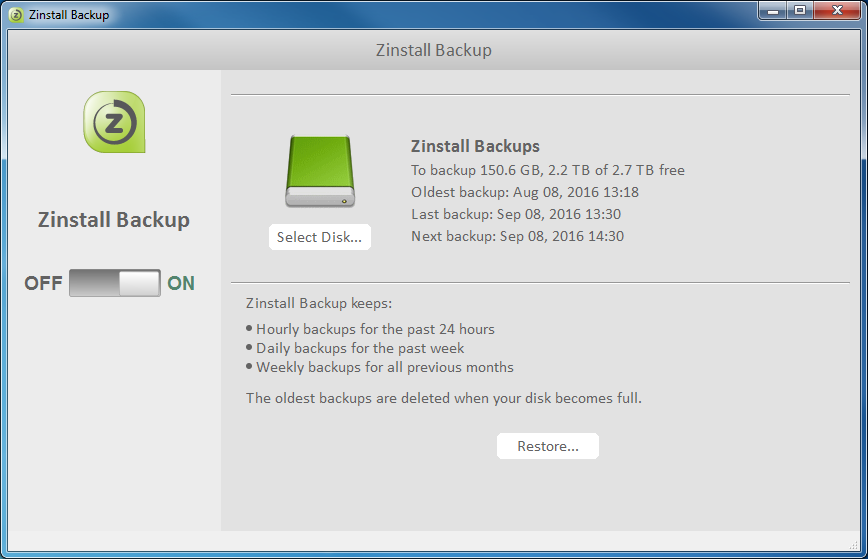
Here is how to set it up:
It will automatically look for the best place to keep your files safe. If you have a USB drive connected, it will use that. If you have Dropbox or Cloud backup solutions, it will use that. If you have other computers on the network, it will use them. You don’t need to worry about a thing.
Zinstall FullBack will then automatically create hourly, weekly and monthly backups of every single file and program on your computer. It’s extremely fast and efficient, so it takes very little extra space, and you won’t feel any slow down.
The best thing about it is the restore. When your computer breaks, and you get a new one, all you need to do is run Zinstall’s Rescue Kit on the new computer. It will restore not just files, but even programs (!) from your backup.
This means that in a short while, you will have the new computer set up exactly like the old one, with your Office, your programs, emails, accounts, passwords, documents, pictures and everything else.
It doesn’t even need to be the same Windows version. Even if your old computer was Windows 7, and your new computer is Windows 11, Zinstall FullBack will be recovered to it, no questions asked.